
As a wedding photographer, the obvious best part of the process is capturing the pictures. You get to capture the best day of peoples lives through pictures. Most wedding photographers would agree, however, that the worst part of the wedding process is the culling of the pictures. We take so many throughout the day and don’t need all of them, because many are duplicates of the same moment, pictures didn’t come out in focus, exposure wasn’t right, etc. Whatever the reason, we don’t deliver all of the pictures, nor do couples need all of them. So in comes the process of culling the pictures.
Last week, I shared the products that I use to help my post-wedding process go quickly. Today I will share how I cull and how I can cull an entire wedding in an hour to an hour and a half; but first I have to ashamedly share how I used to cull… I culled as I edited. WHAT? Why would I do that??? I would import ALL of the pictures from the wedding onto my computer and then cull as I edited. I look back at how long it used to take me to edit and no wonder it took forever. I never really went through to weed down the pictures. Without culling before I started editing, I was slowing my editing process down without even realizing. So if you’re a photographer who doesn’t cull before editing, I highly recommend switching to cull before you edit. Or maybe I was the only crazy one out there that did it this way…
Last year, I got Photo Mechanic, and this magical piece of software changed my life forever. It gave me a new look on how to edit my pictures since I went through and got rid of the ones I didn’t need. I know you can do this in Lightroom as well, but after trying it there, I decided to give Photo Mechanic a try and I was able to cull so much faster. Katelyn James says the same thing: I don’t know what it is about this program, but it just speeds up my process and is magic on my computer.
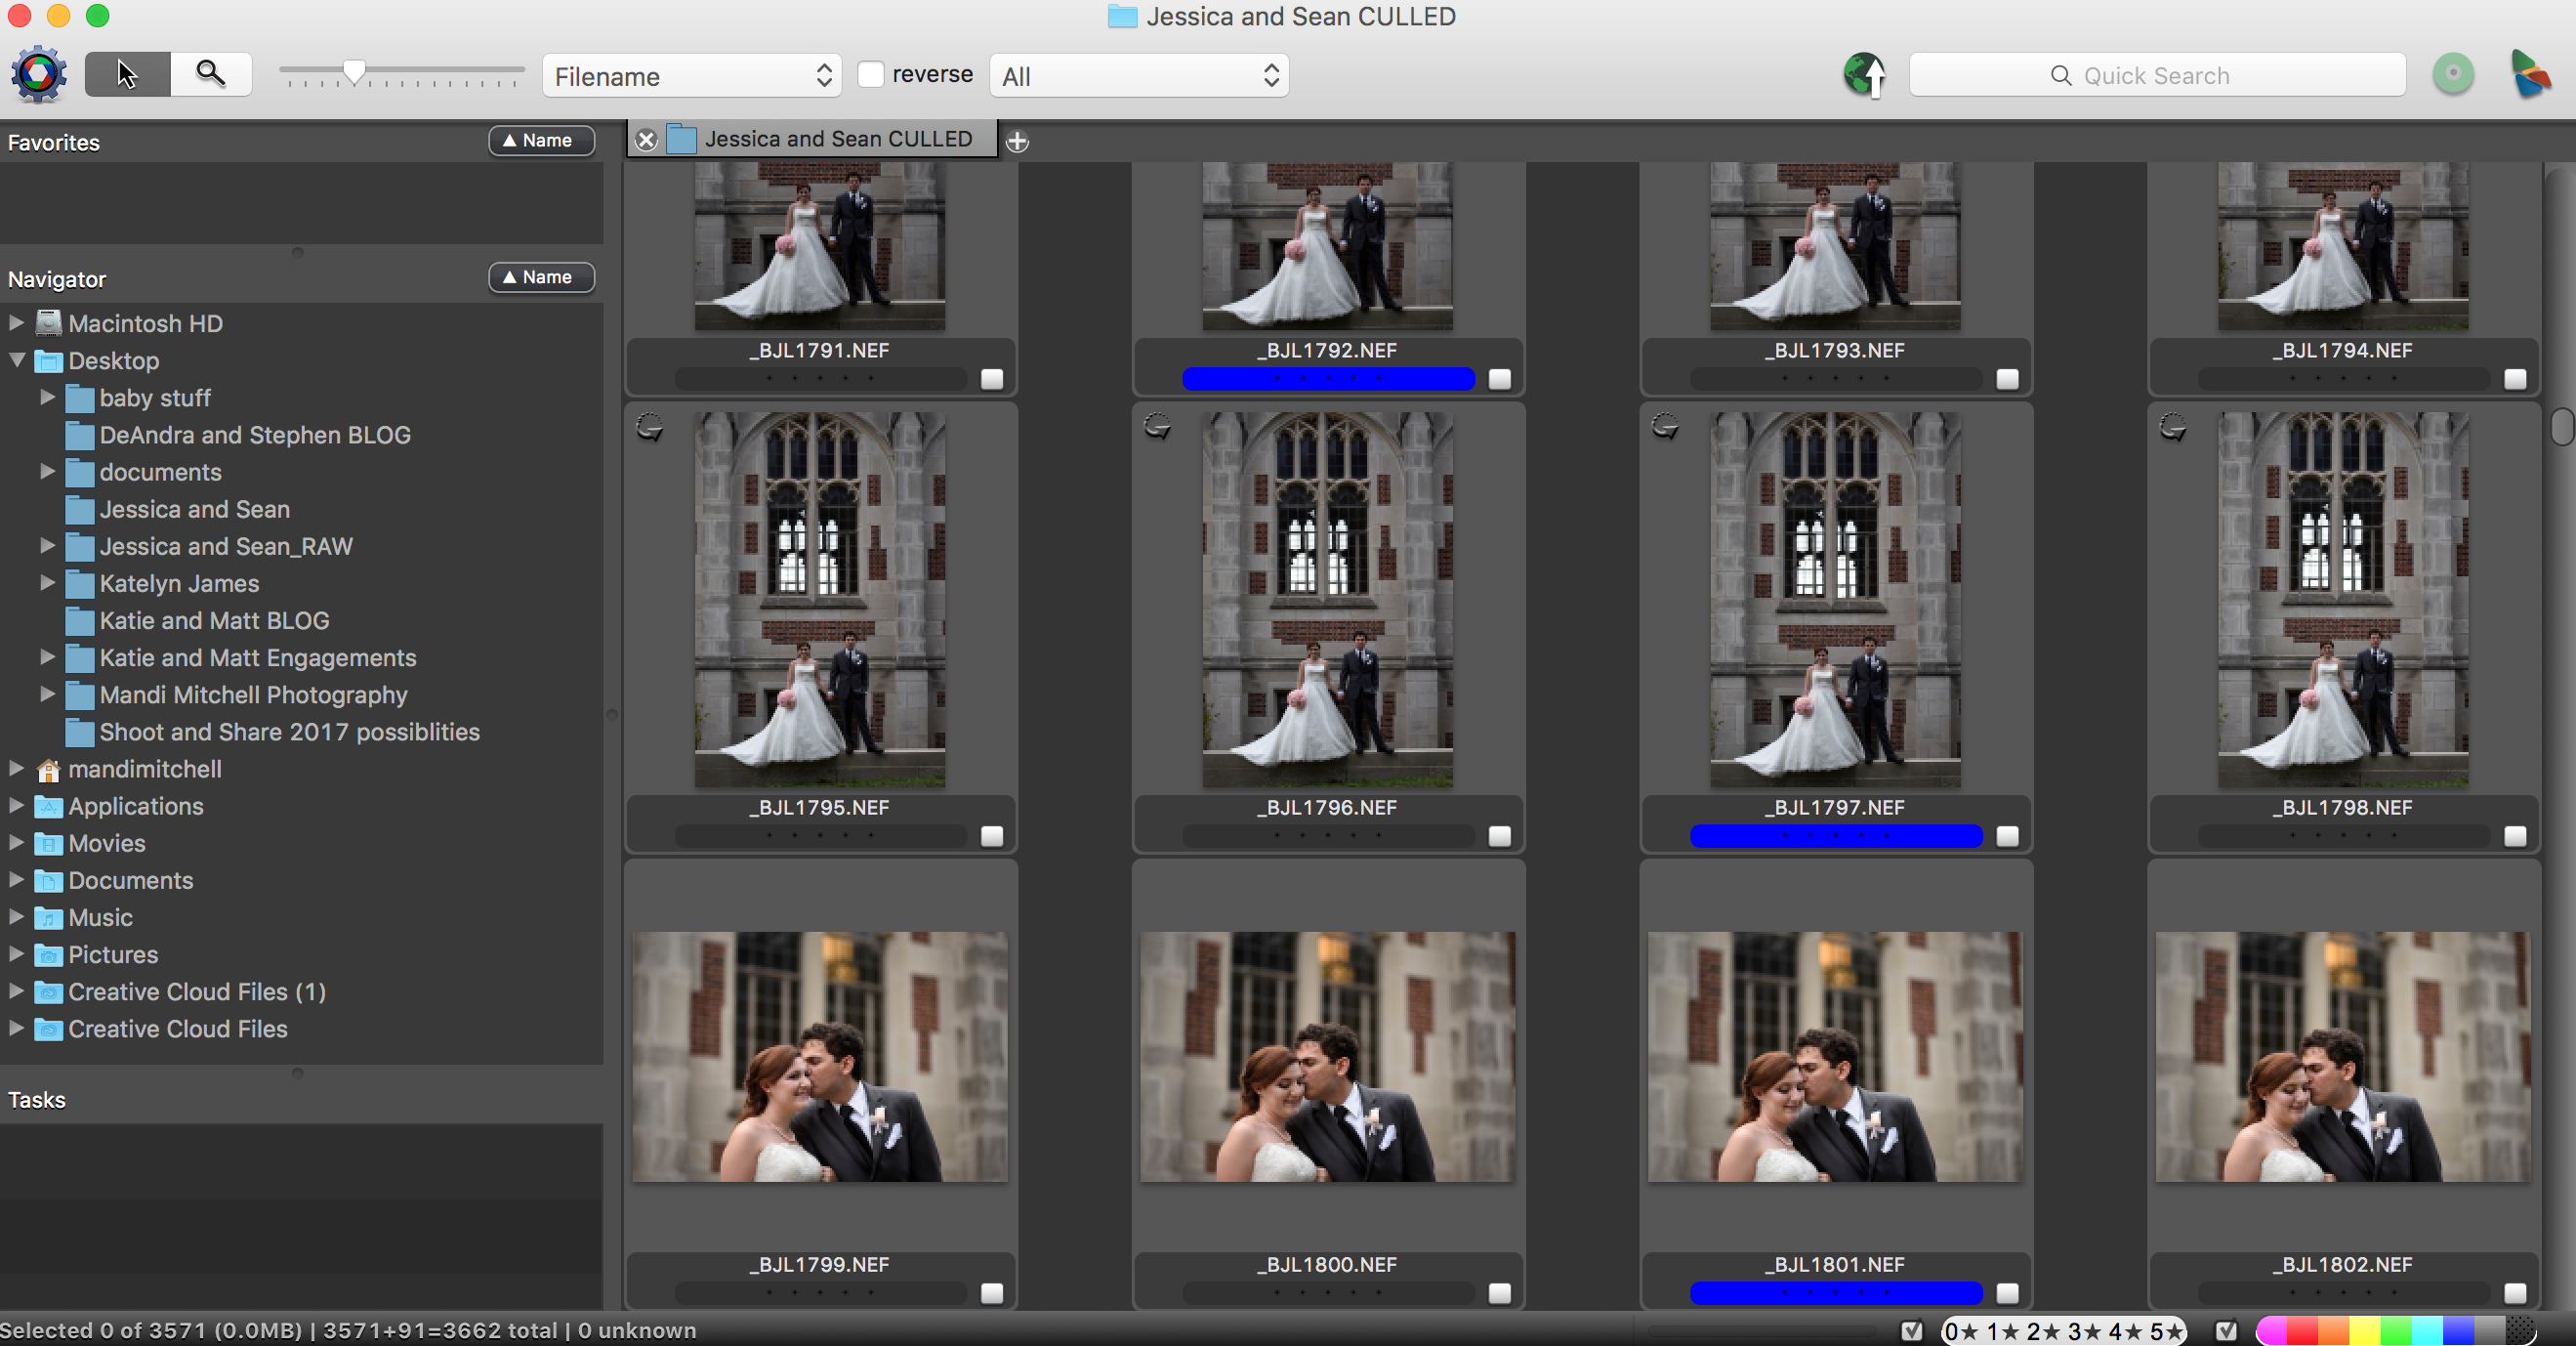
The first thing I do is create folders to import the pictures. I’ll use my most recent wedding with Jessica and Sean as an example. I made a main folder and called it Jessica and Sean Wedding. I then made two subfolders within that folder and called them Jessica and Sean RAW and Jessica and Sean CULLED. I uploaded all of the RAW files from the wedding into the RAW folder. What Photo Mechanic actually lets you do it is import (ingest as Photo Mechanic calls it) all of your RAW file onto your computer or hard drive and then from there you can select the ones you want to edit.
You can see from my most recent wedding the ones I selected to cull. Photo Mechanic allows you to assign a color to the pictures using numbers. I choose 7, which is blue just because I like blue. You can pick whatever color you want to assign to your pictures. They go from 1-7 and if you hit 0 it deselects the picture.
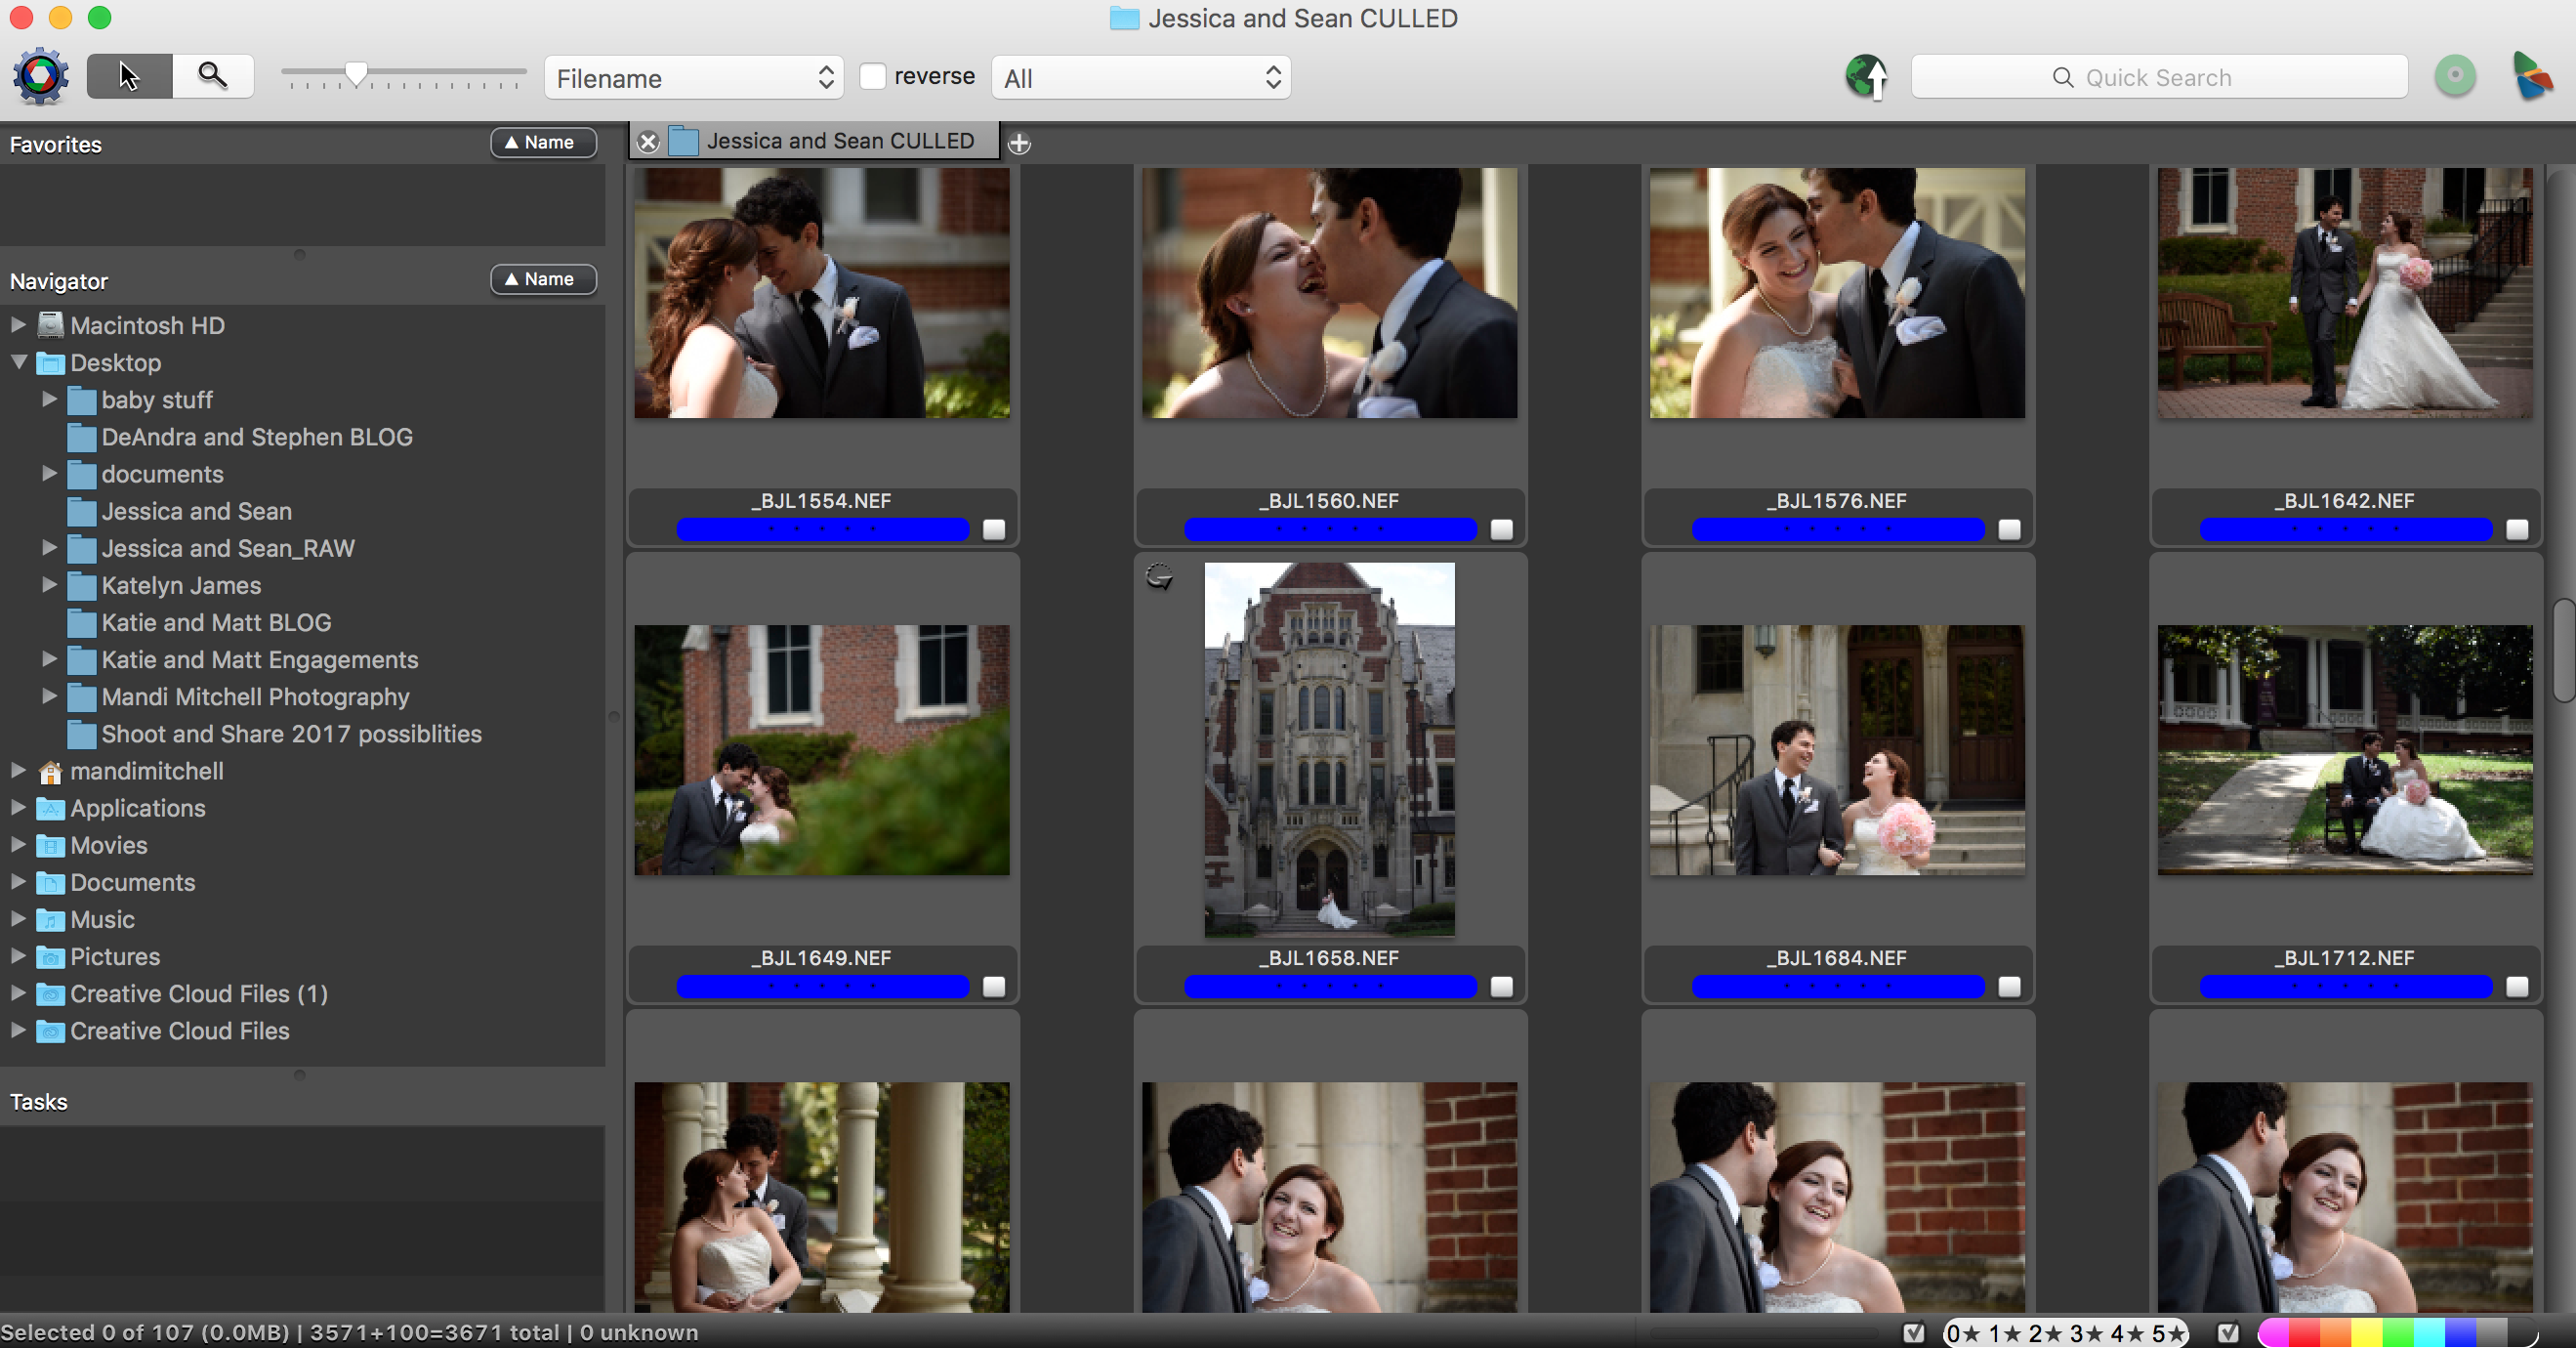
Once you have culled through the pictures, you click on the grid button on the far right and it will select all of your colored culled pictures.
![]()
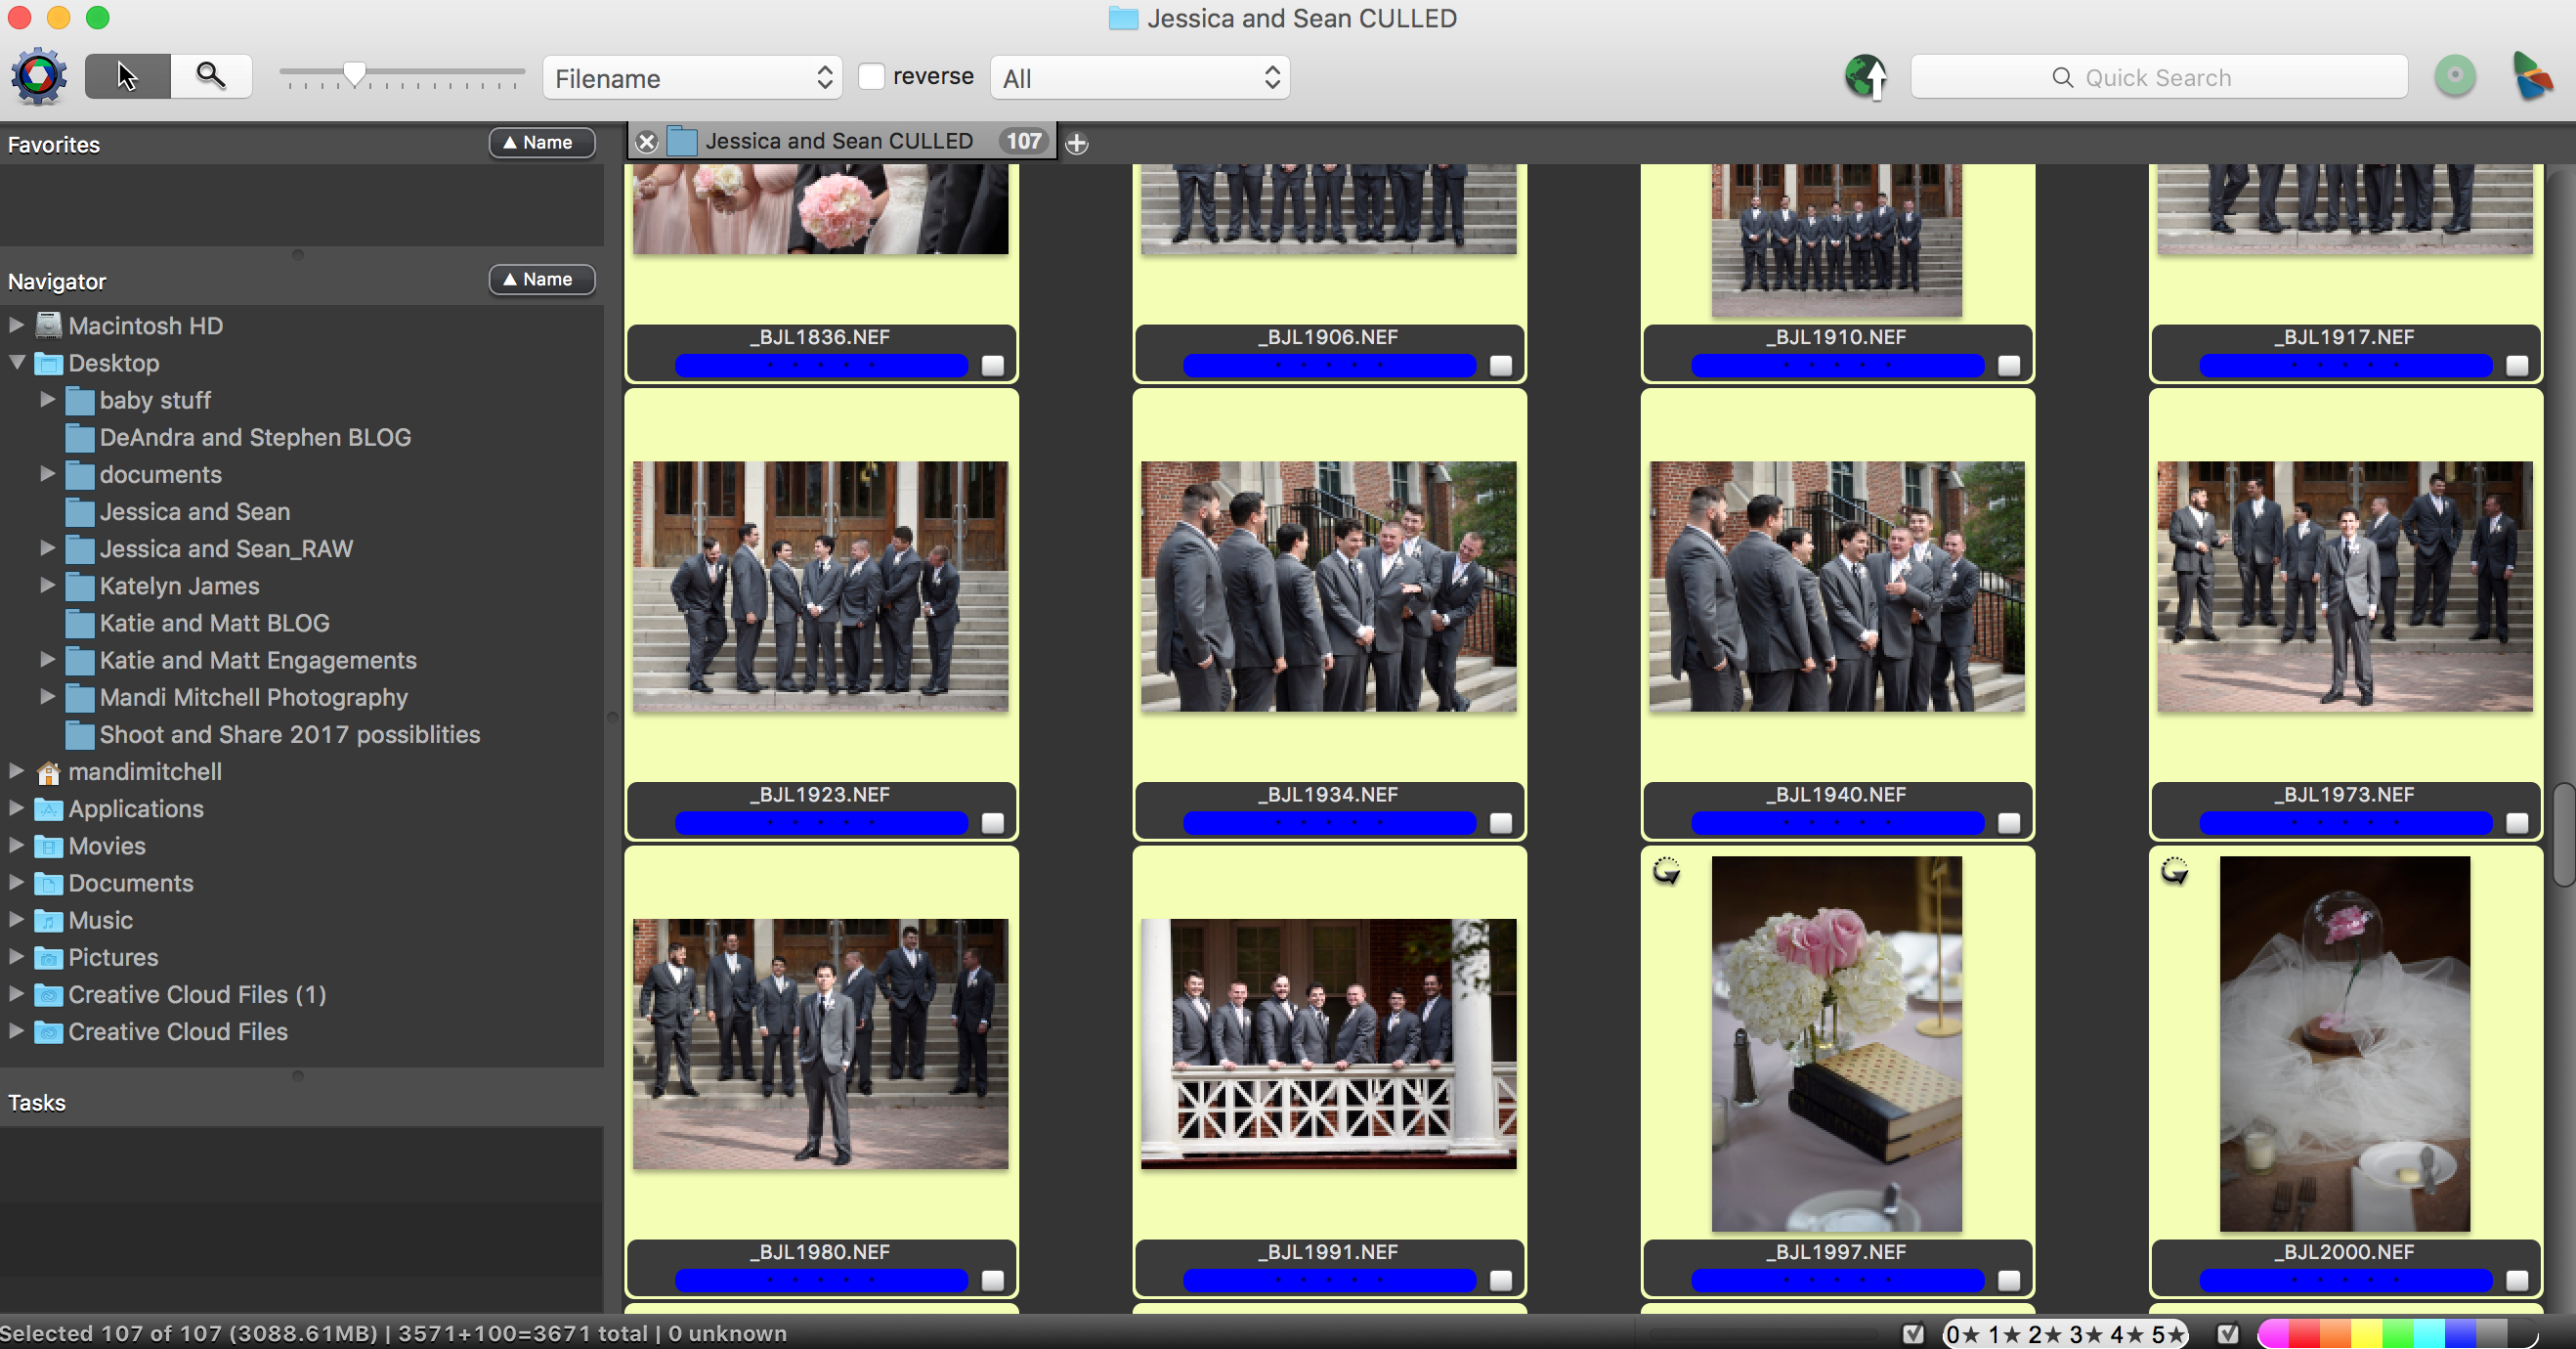
I then highlight all of the culled pictures and using the Navigator tab, drag all of the pictures into my Jessica and Sean CULLED folder. Photo Mechanic moves the pictures from the RAW to the CULLED folder I created. It doesn’t copy them, but moves them for me.
So that’s the technical side of it all, but what about the other part of the process in how I cull?
Katelyn James taught in her KJ Consistency Course to cull backwards. I think this is such a great idea and here’s why. I like to cull backwards as it helps me pick out the best pictures first. Often when taking pictures, as photographers, we tend to take a handful of the same shot, often getting the lighting right in the first two or three shots. By the time you get to the last ones, they’re the ones you most of the time want to keep; so why not start looking at your best pictures first when culling?
And please note, I’m not regurgitating what Katelyn taught us. I took a lot of what she taught and made it my own process, pulling from her suggestions of the Lexar 4-Bay Card Reader, Photo Mechanic, and backwards culling to make my own process that works for me and I found is different from hers.
Now this next part of my process, I think some people would say gives me more work or is doing something twice, but it works well for me. Instead of culling the entire wedding immediately, I cull for the blog first. If I’m shooting a wedding on Saturday, I am blogging the wedding the following Tuesday- every single time. Because of this, I cull for the blog first. It would be a little overwhelming for me to cull all of the pictures, end up with 1200 or more to edit, and then have to go through Lightroom and 5 star all of them for the blog. So instead, I cull for blog purposes only the first time around. This process takes me about 30 minutes to do and gives me around 200-250 pictures. This is much more manageable in my mind to edit for the blog as I choose around 150 for the blog. After I edit for the blog (I’ll talk more about this part of the process later), I go back through and cull for the client gallery I will deliver. This takes me another 45 minutes or so.
All in all, I spend on average an hour and fifteen minutes culling my weddings, at the most an hour and a half. I don’t feel like this is a long process or even that painful. Once you get this task out of the way, you get to go be fun and creative with your pictures!
I hope you found this blog post helpful and insightful. If you have a different process that works for you, feel free to share it in the comments!

Awesome, informative post. This will be so helpful to wedding photographers!
Thanks so much Esther!
I’ll have to check out photo mechanic, it sounds great!
[…] I take the week off from blogging when I’m out of town. Two weeks ago I talked about my culling process; today I am going to discuss my editing […]